The making-of
Every project starts with a slightly crazy idea. This one was to build a Magic Mirror with a frame fully laser-cut. Here's how it went, step by step.
The initial idea
It all started with a simple desire: build a Magic Mirror for a 620 × 375 mm two-way mirror. Instead of buying a standard frame, why not design it from A to Z with laser cutting? That's where Frame Generator comes in — and where things started getting interesting (in a good way).
Building the app
Development was tougher than expected. To meet real laser-cutting constraints, several critical features had to be added to Frame Generator:
Manual notches
Manual control of notches on sidewalls for precise placement.
Offset fingers
Offset fingers between layers for stronger mechanical assembly.
Rounded fingers
Option to round fingers to reduce cracking in wood.
Forced right angles
Straight fingers required at corners to ensure structural strength.
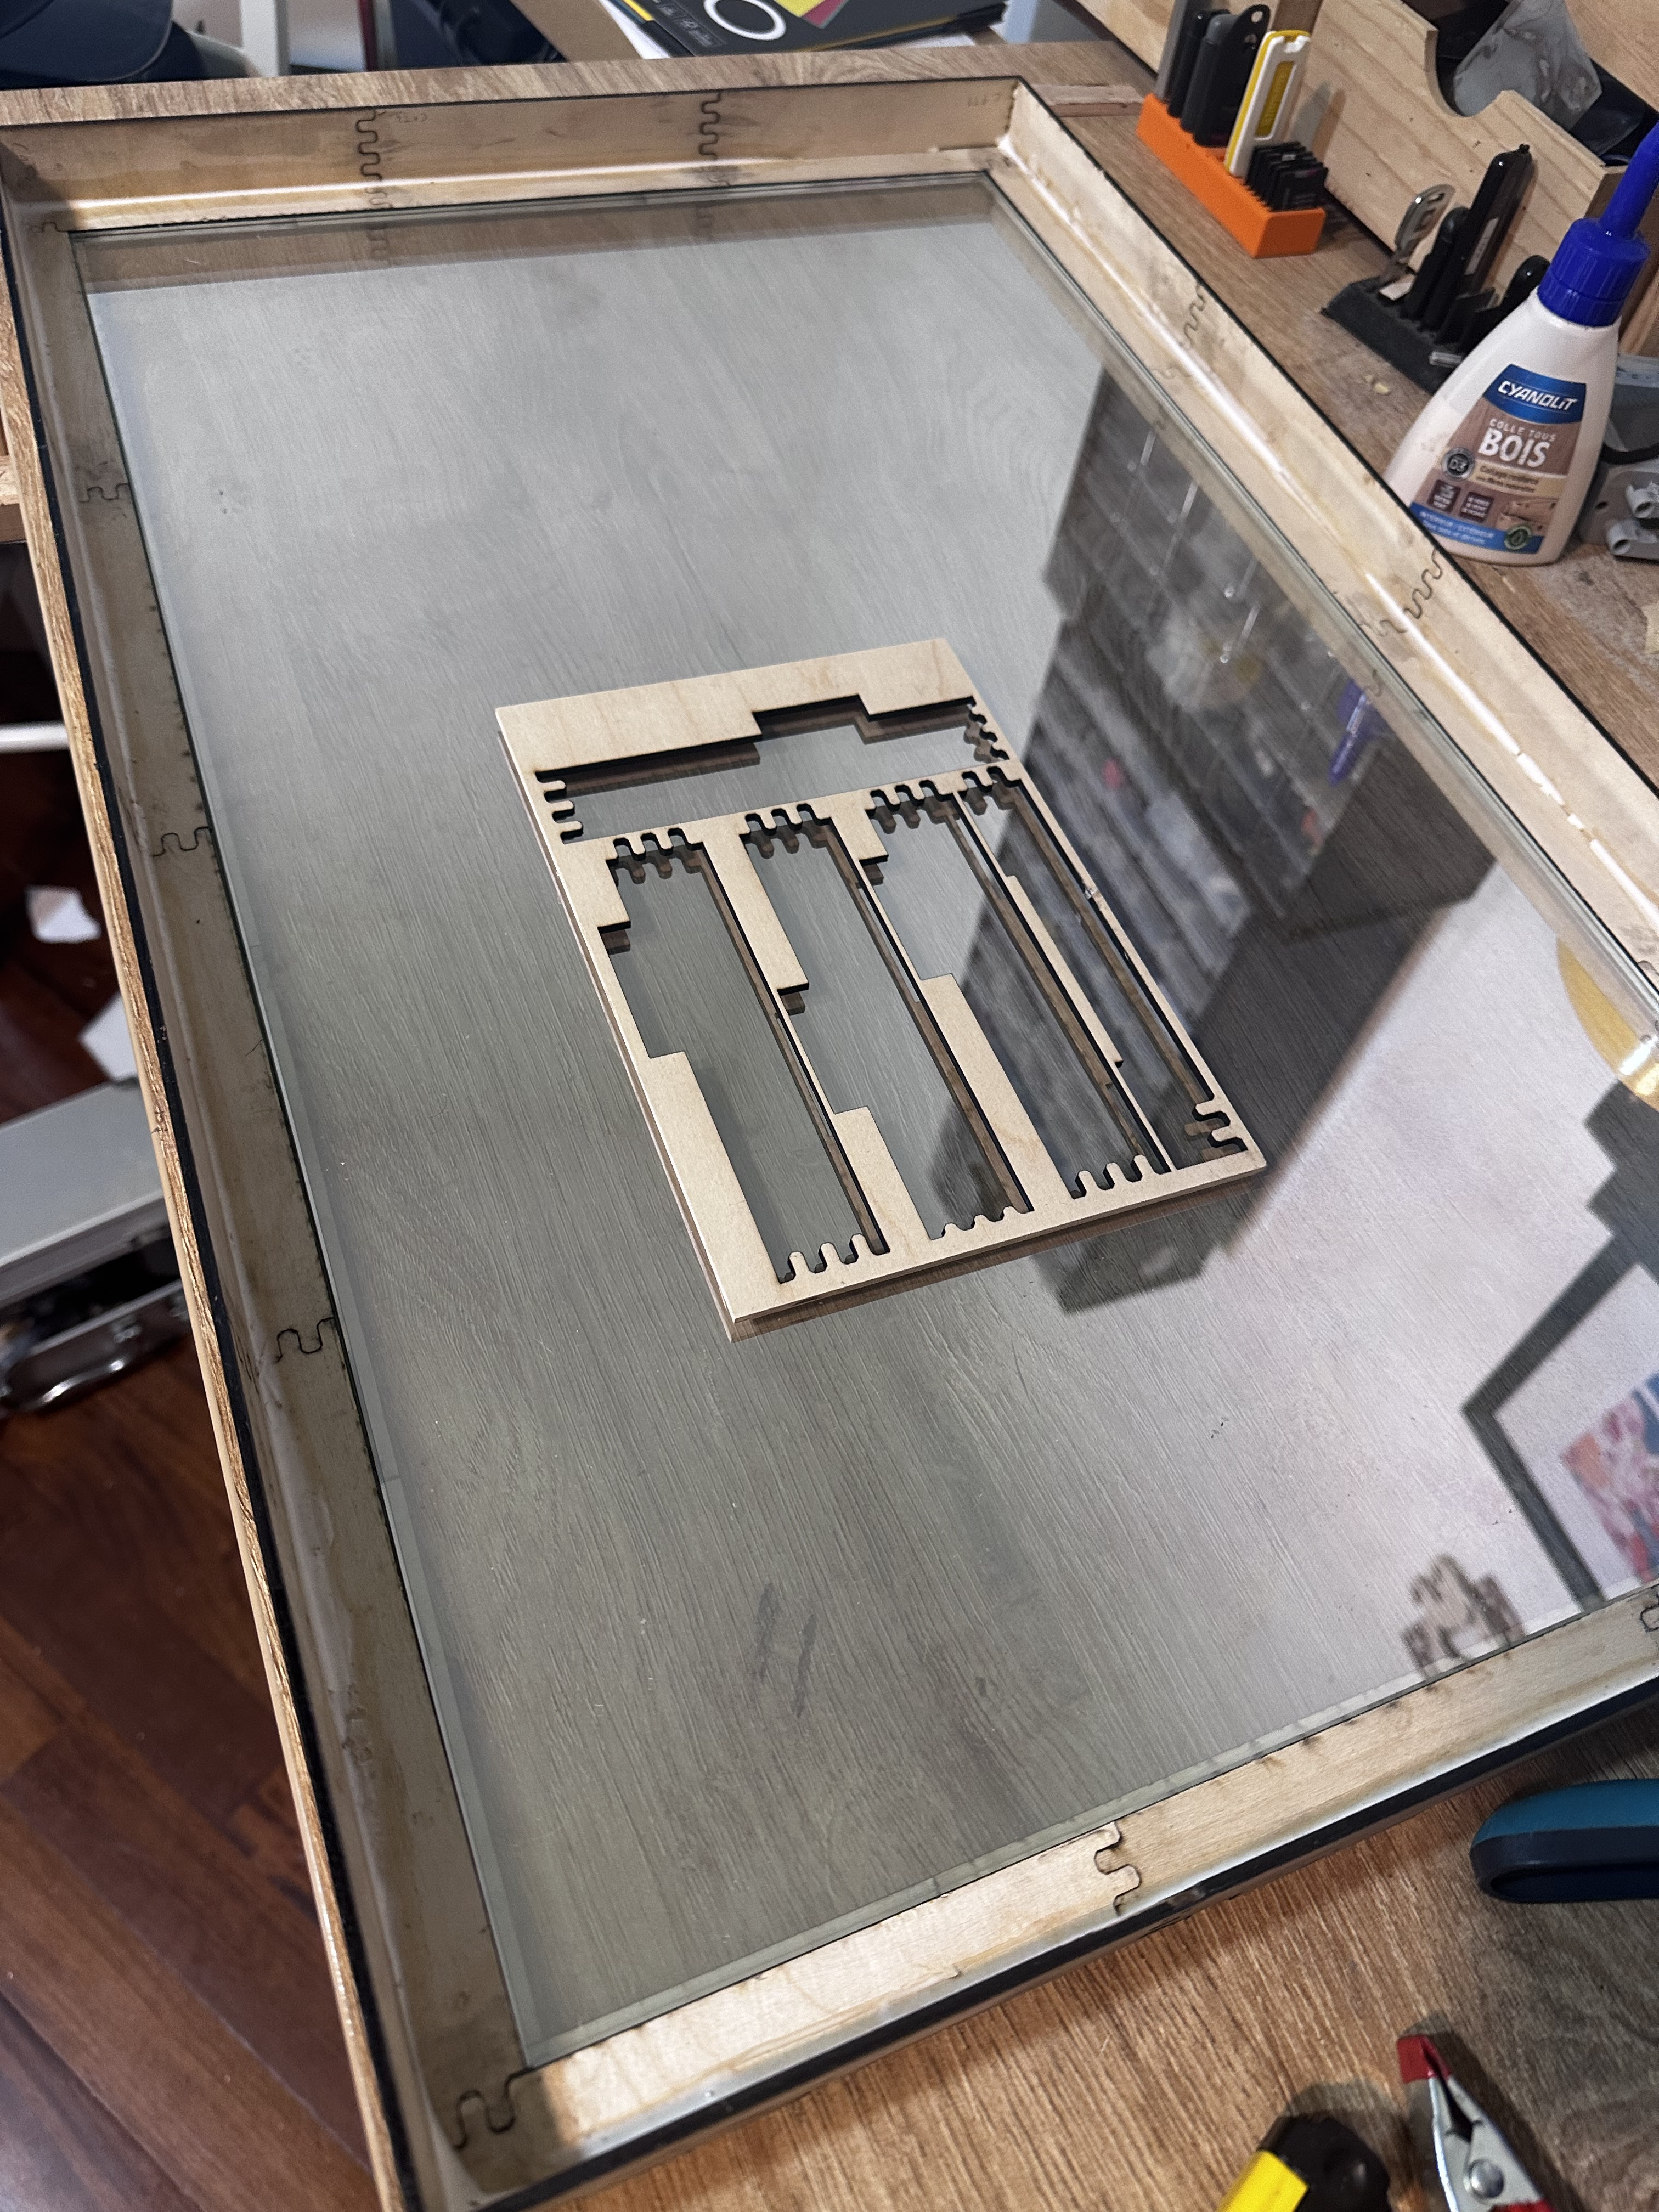
The design
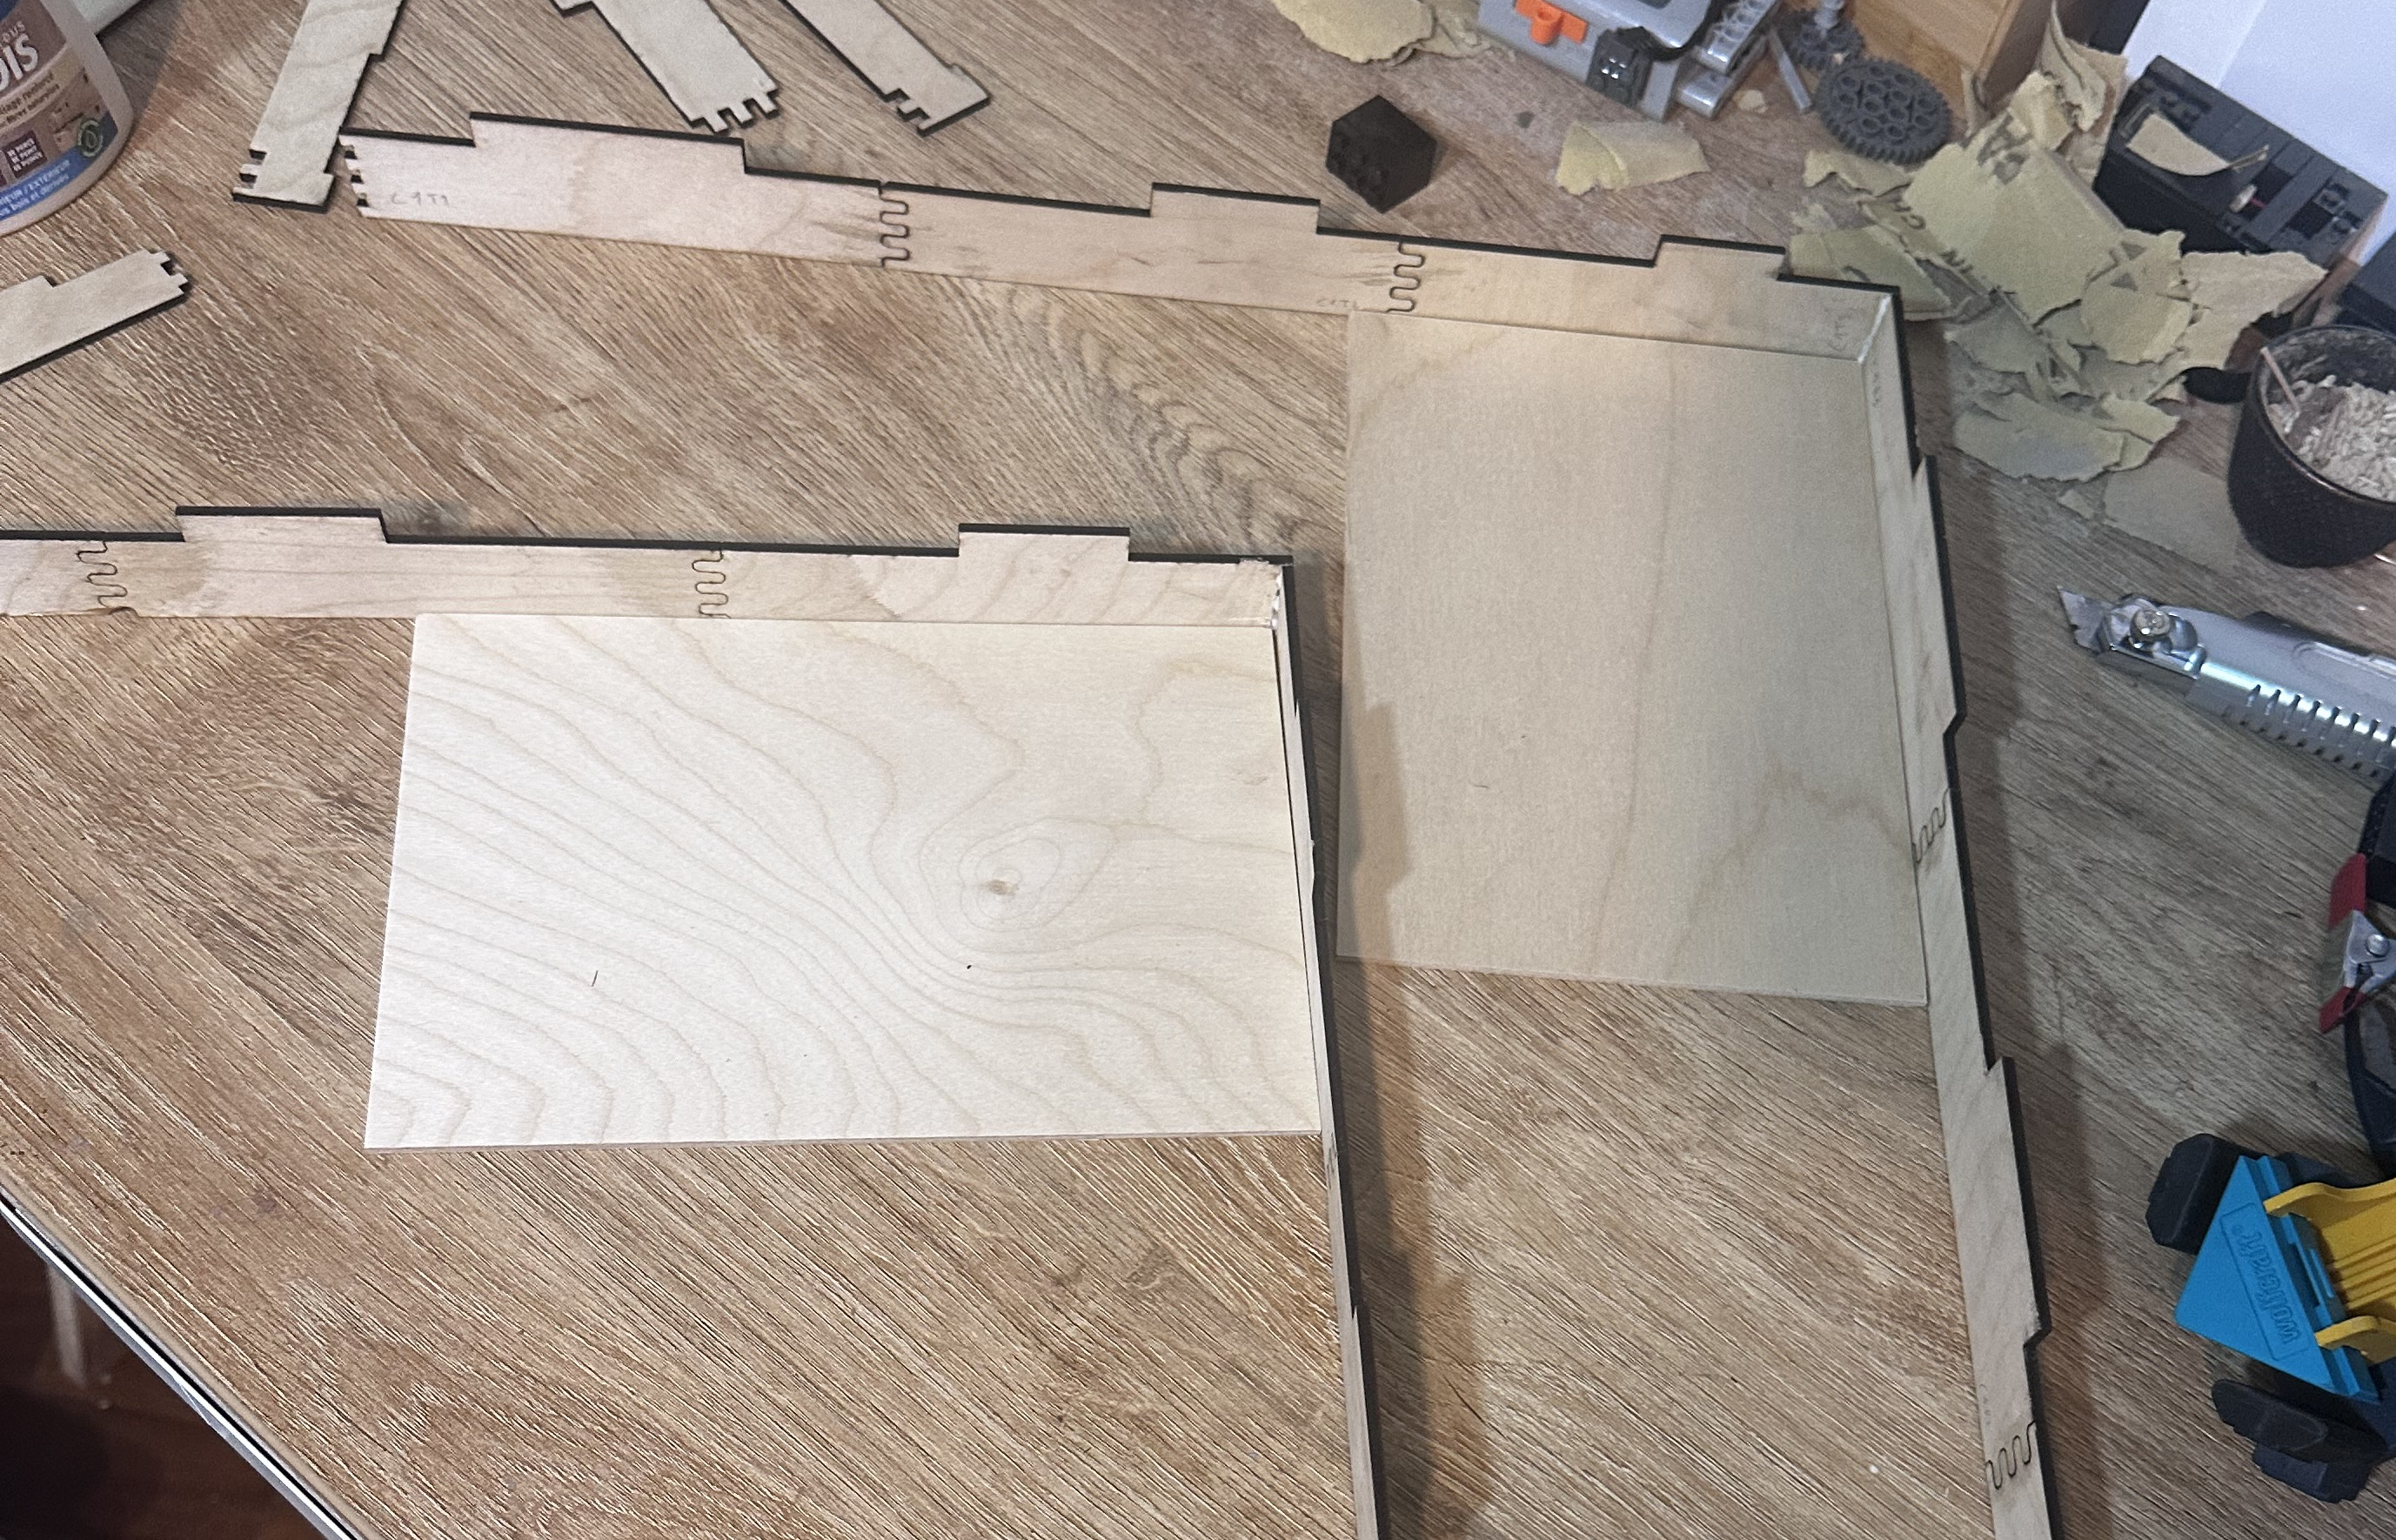
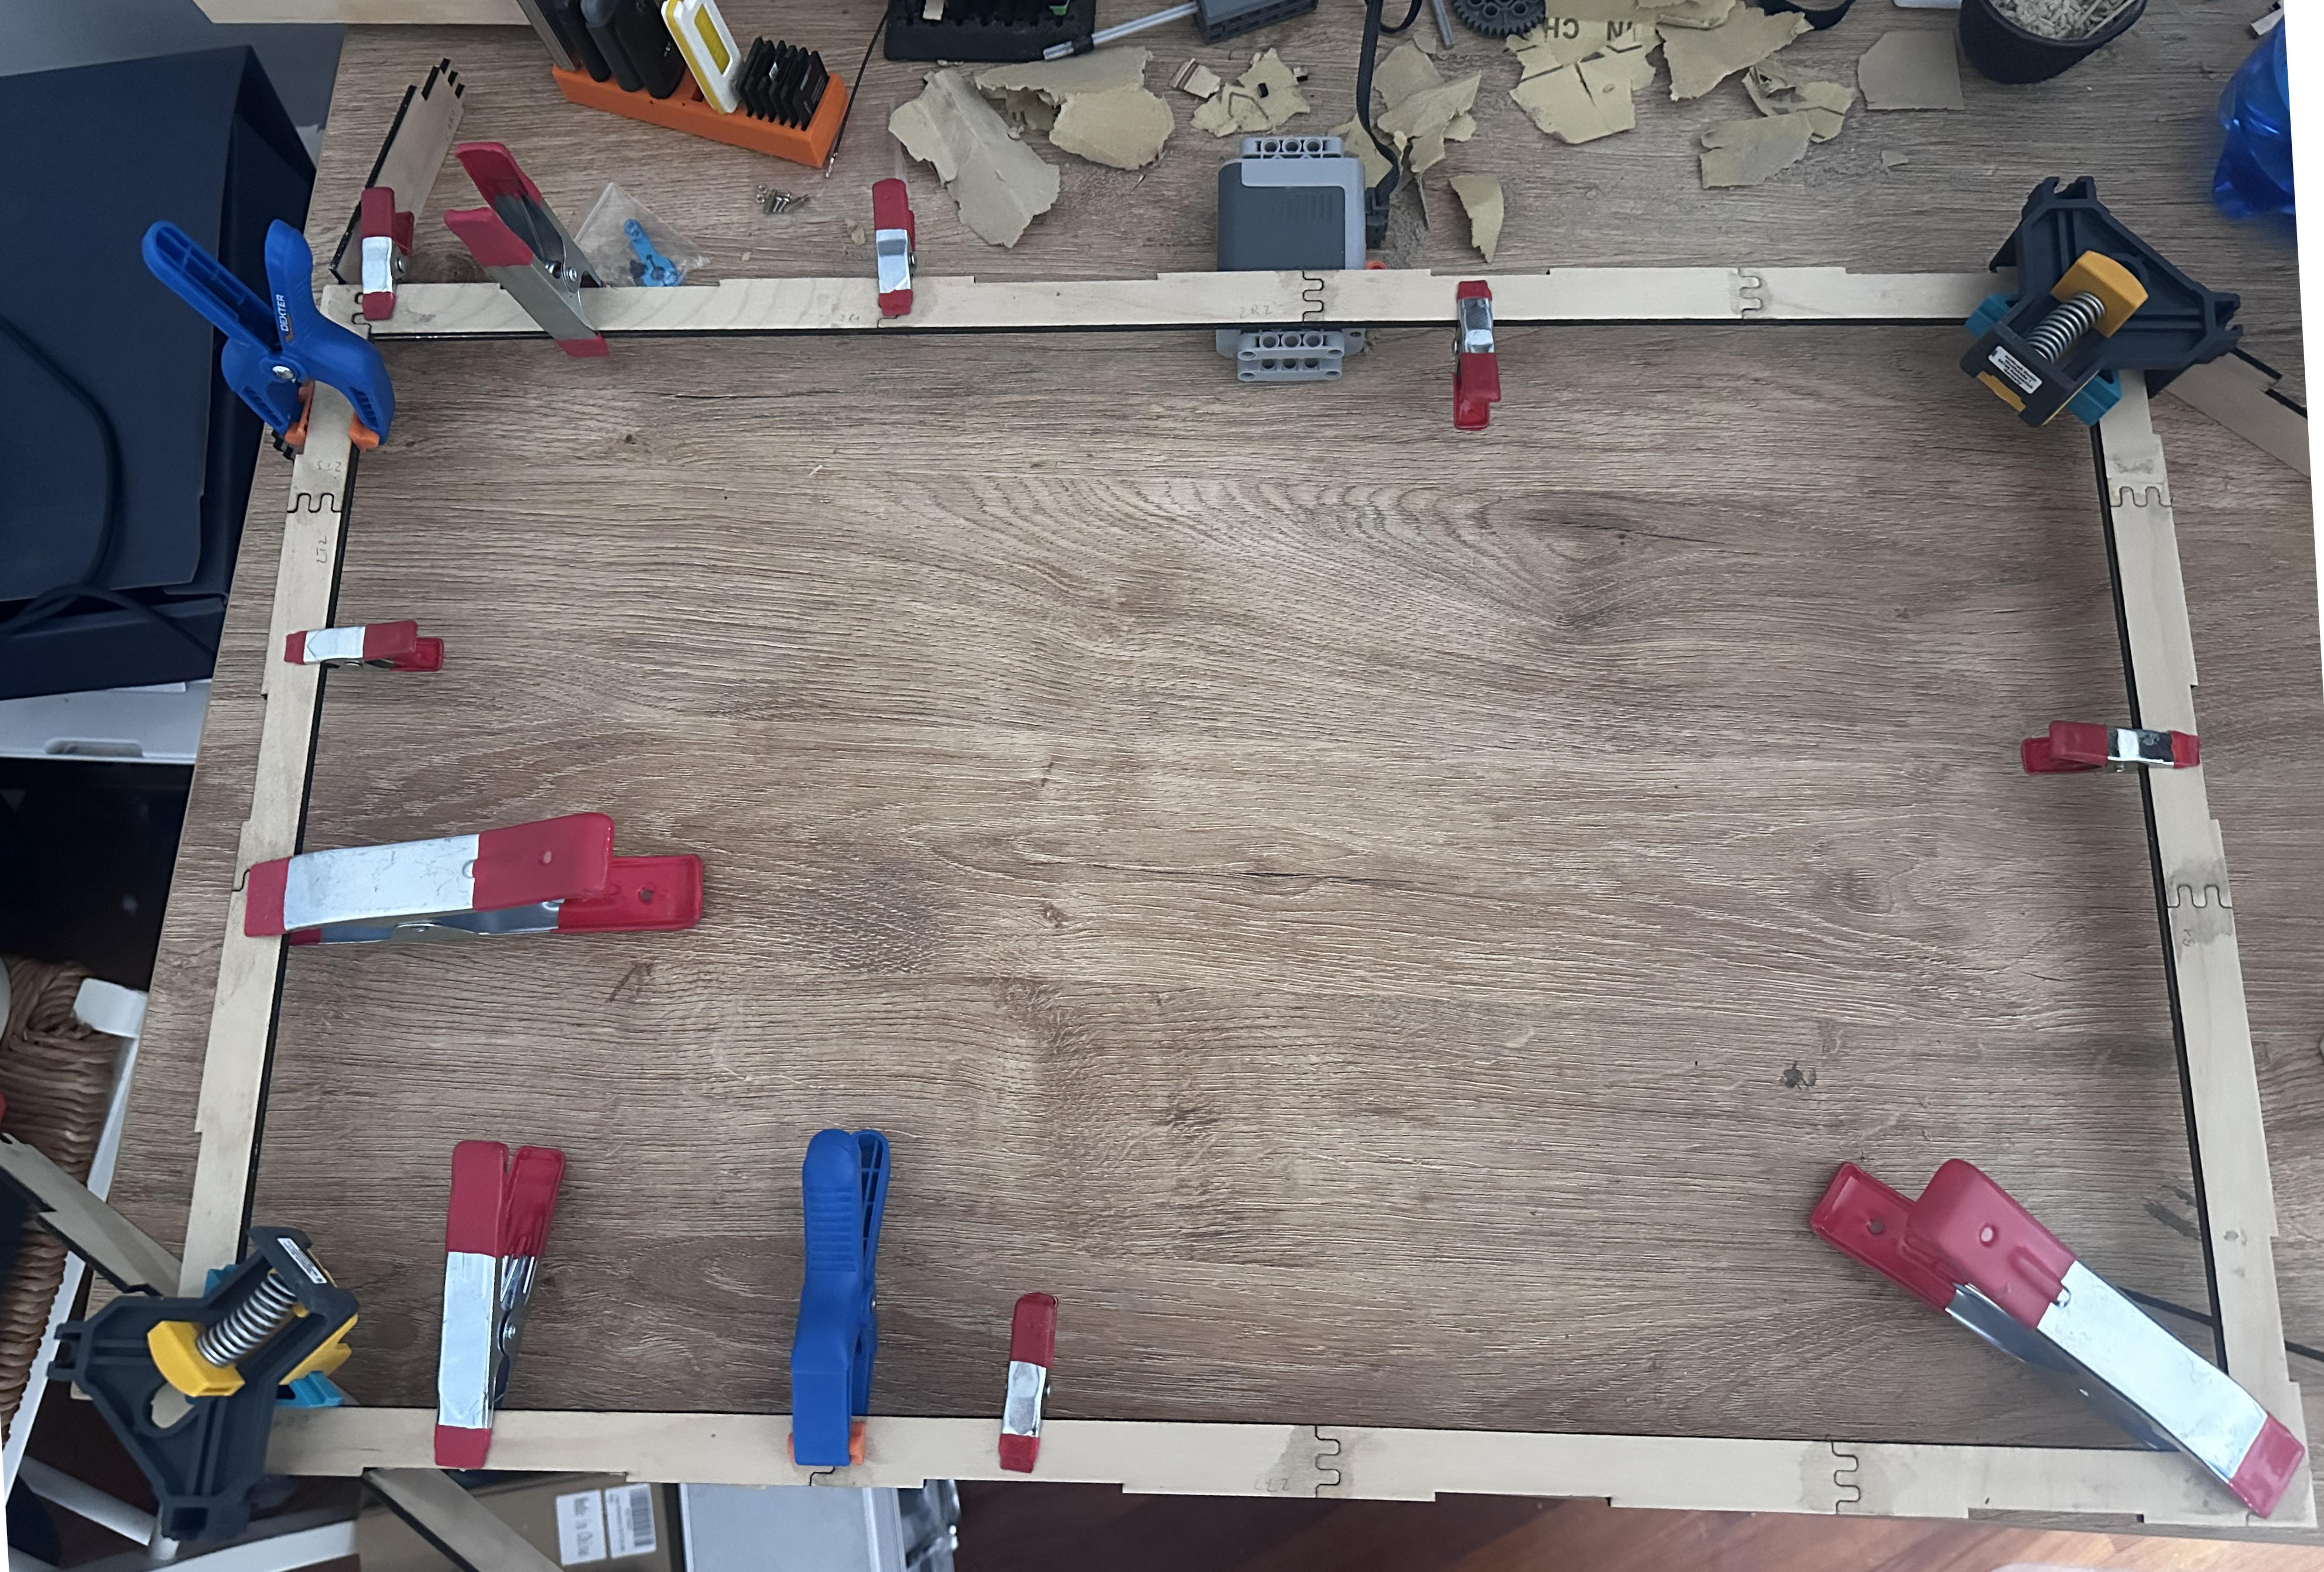
Once the app was ready, it was time to design the frame. The structure relies on 1 rabbet + 2 backing layers in 3 mm plywood (210 × 145 mm). The mirror is 6 mm thick: two backing layers fit perfectly. For the sides, a single sidewall layer is enough. In total: 10 sheets to cut, about 56 pieces.

Assembly
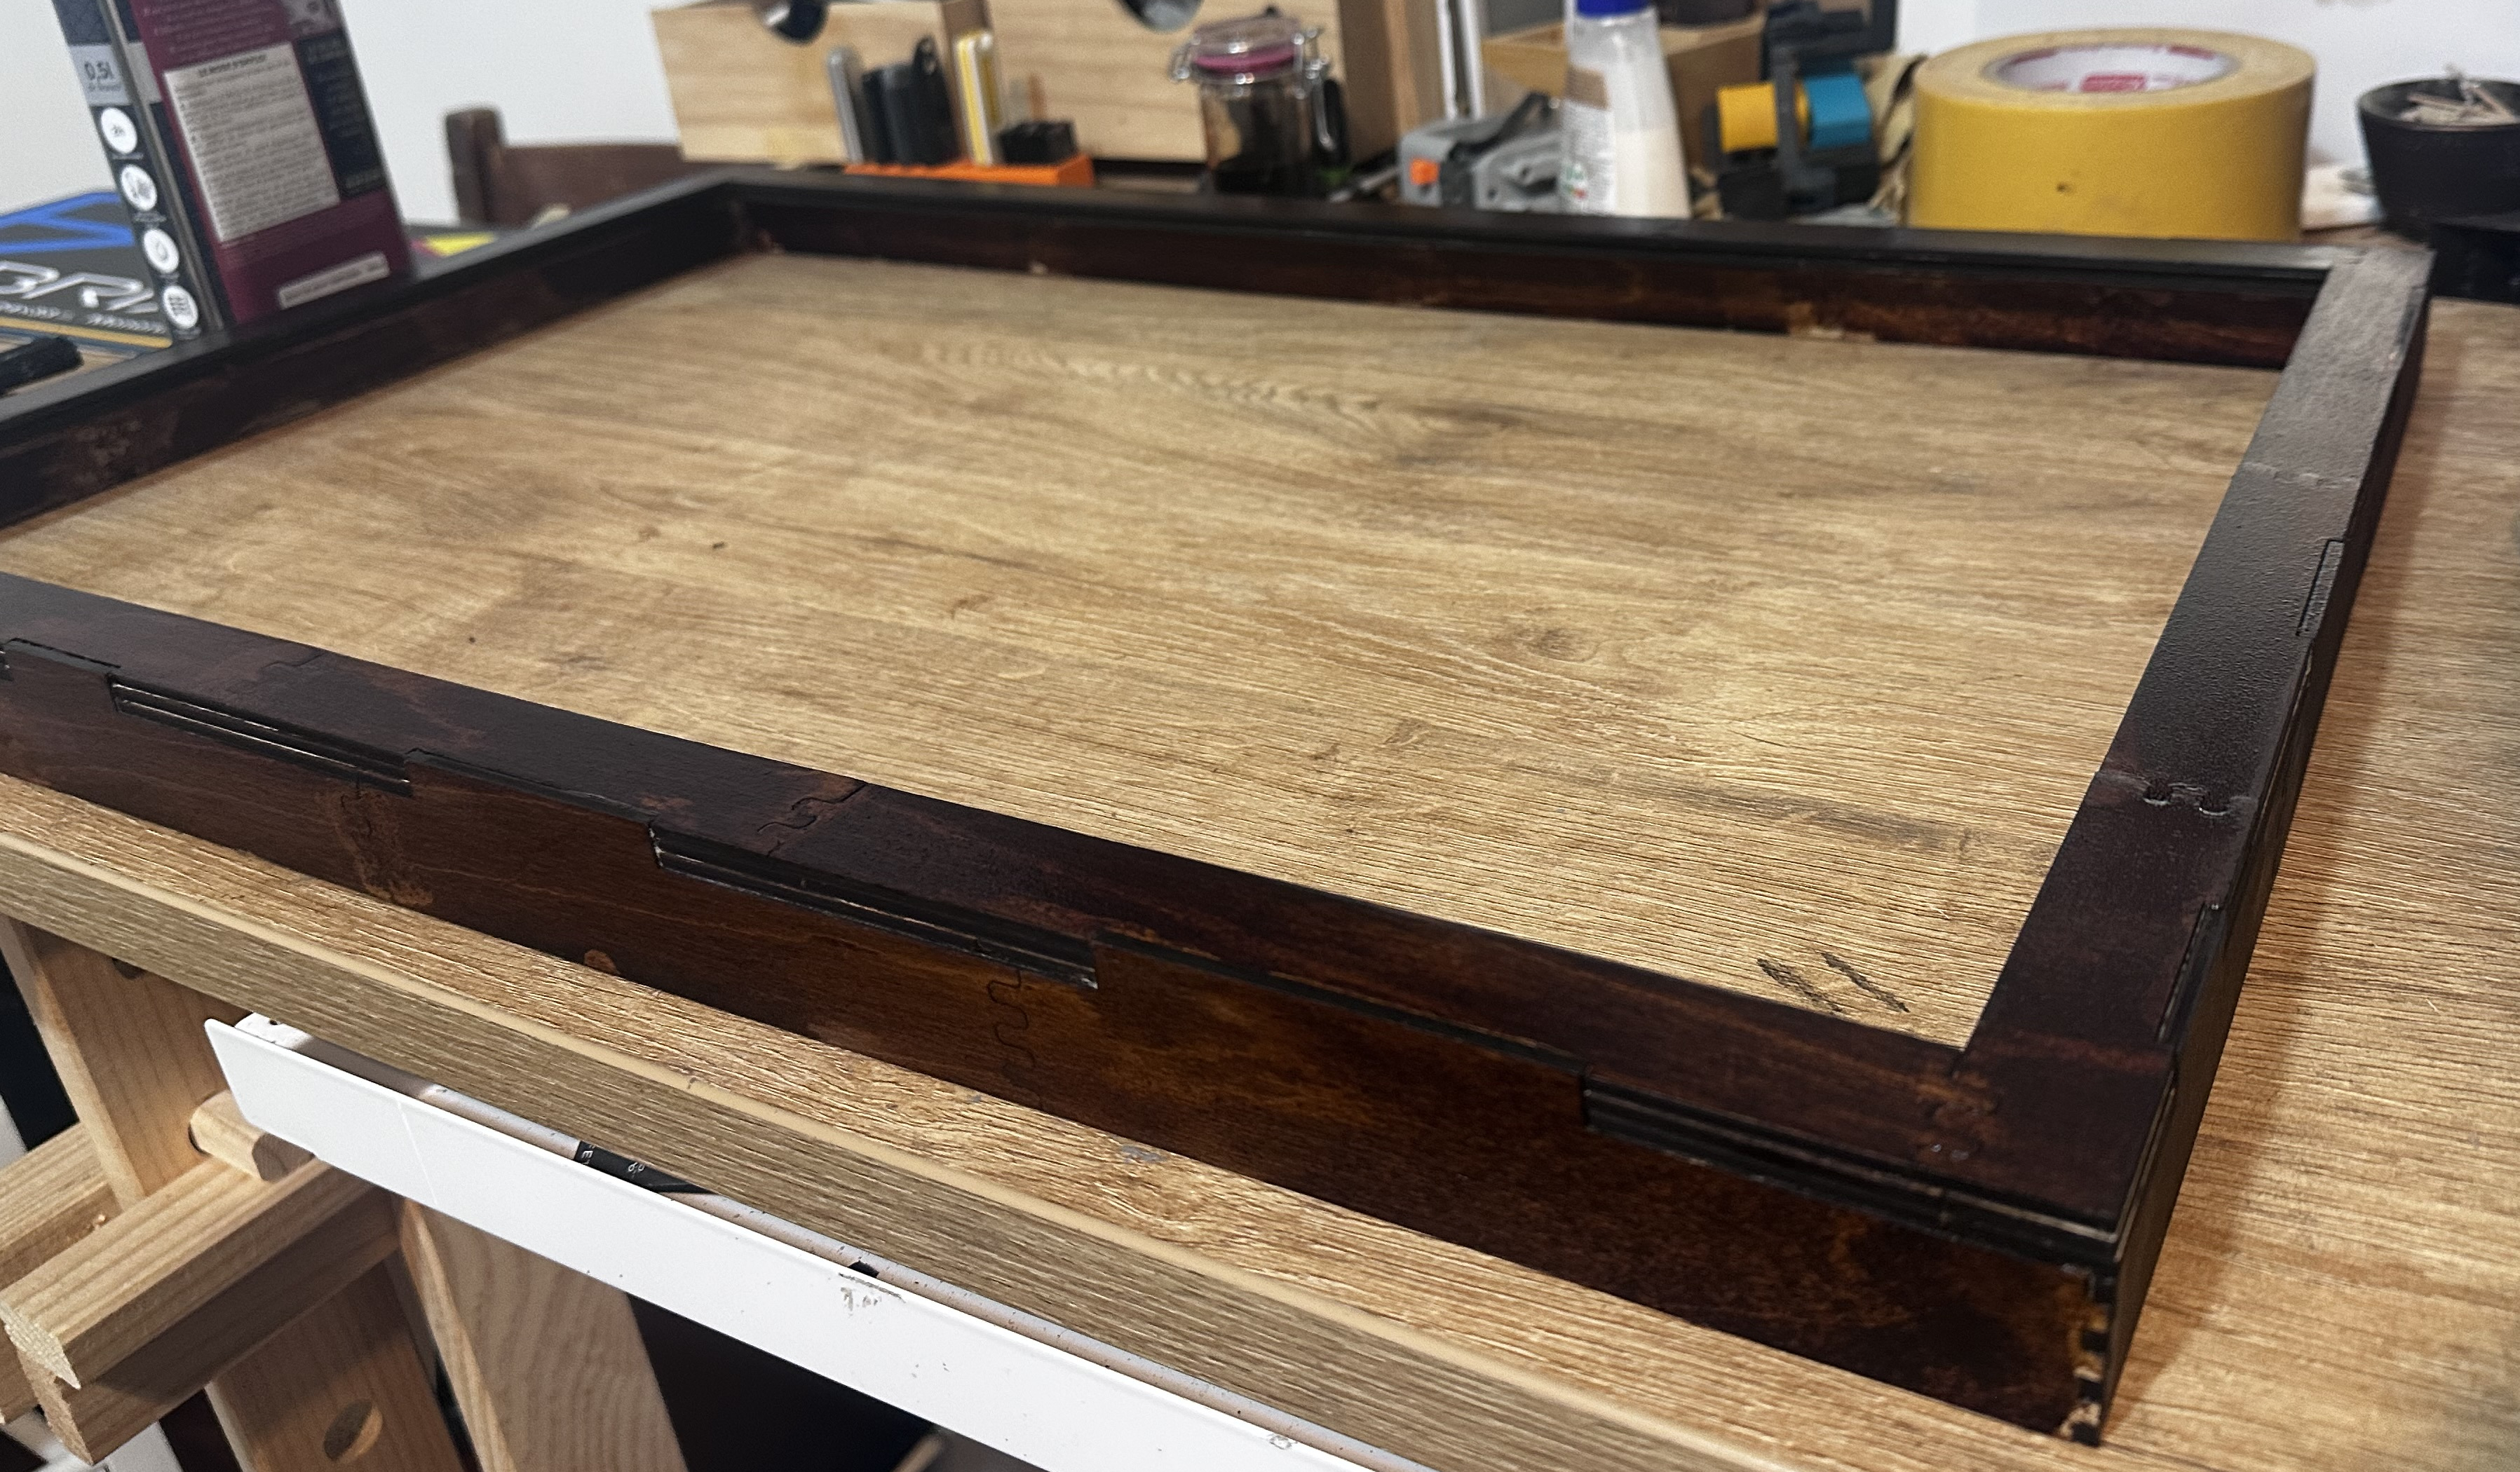
Aside from a few laser-cutting issues (focus, wood humidity, average board quality), everything worked fine. Gluing and clamping require rigor — lesson learned: don't glue too fast without properly clamping the parts. A slight play resulted, but nothing critical.


Finishing
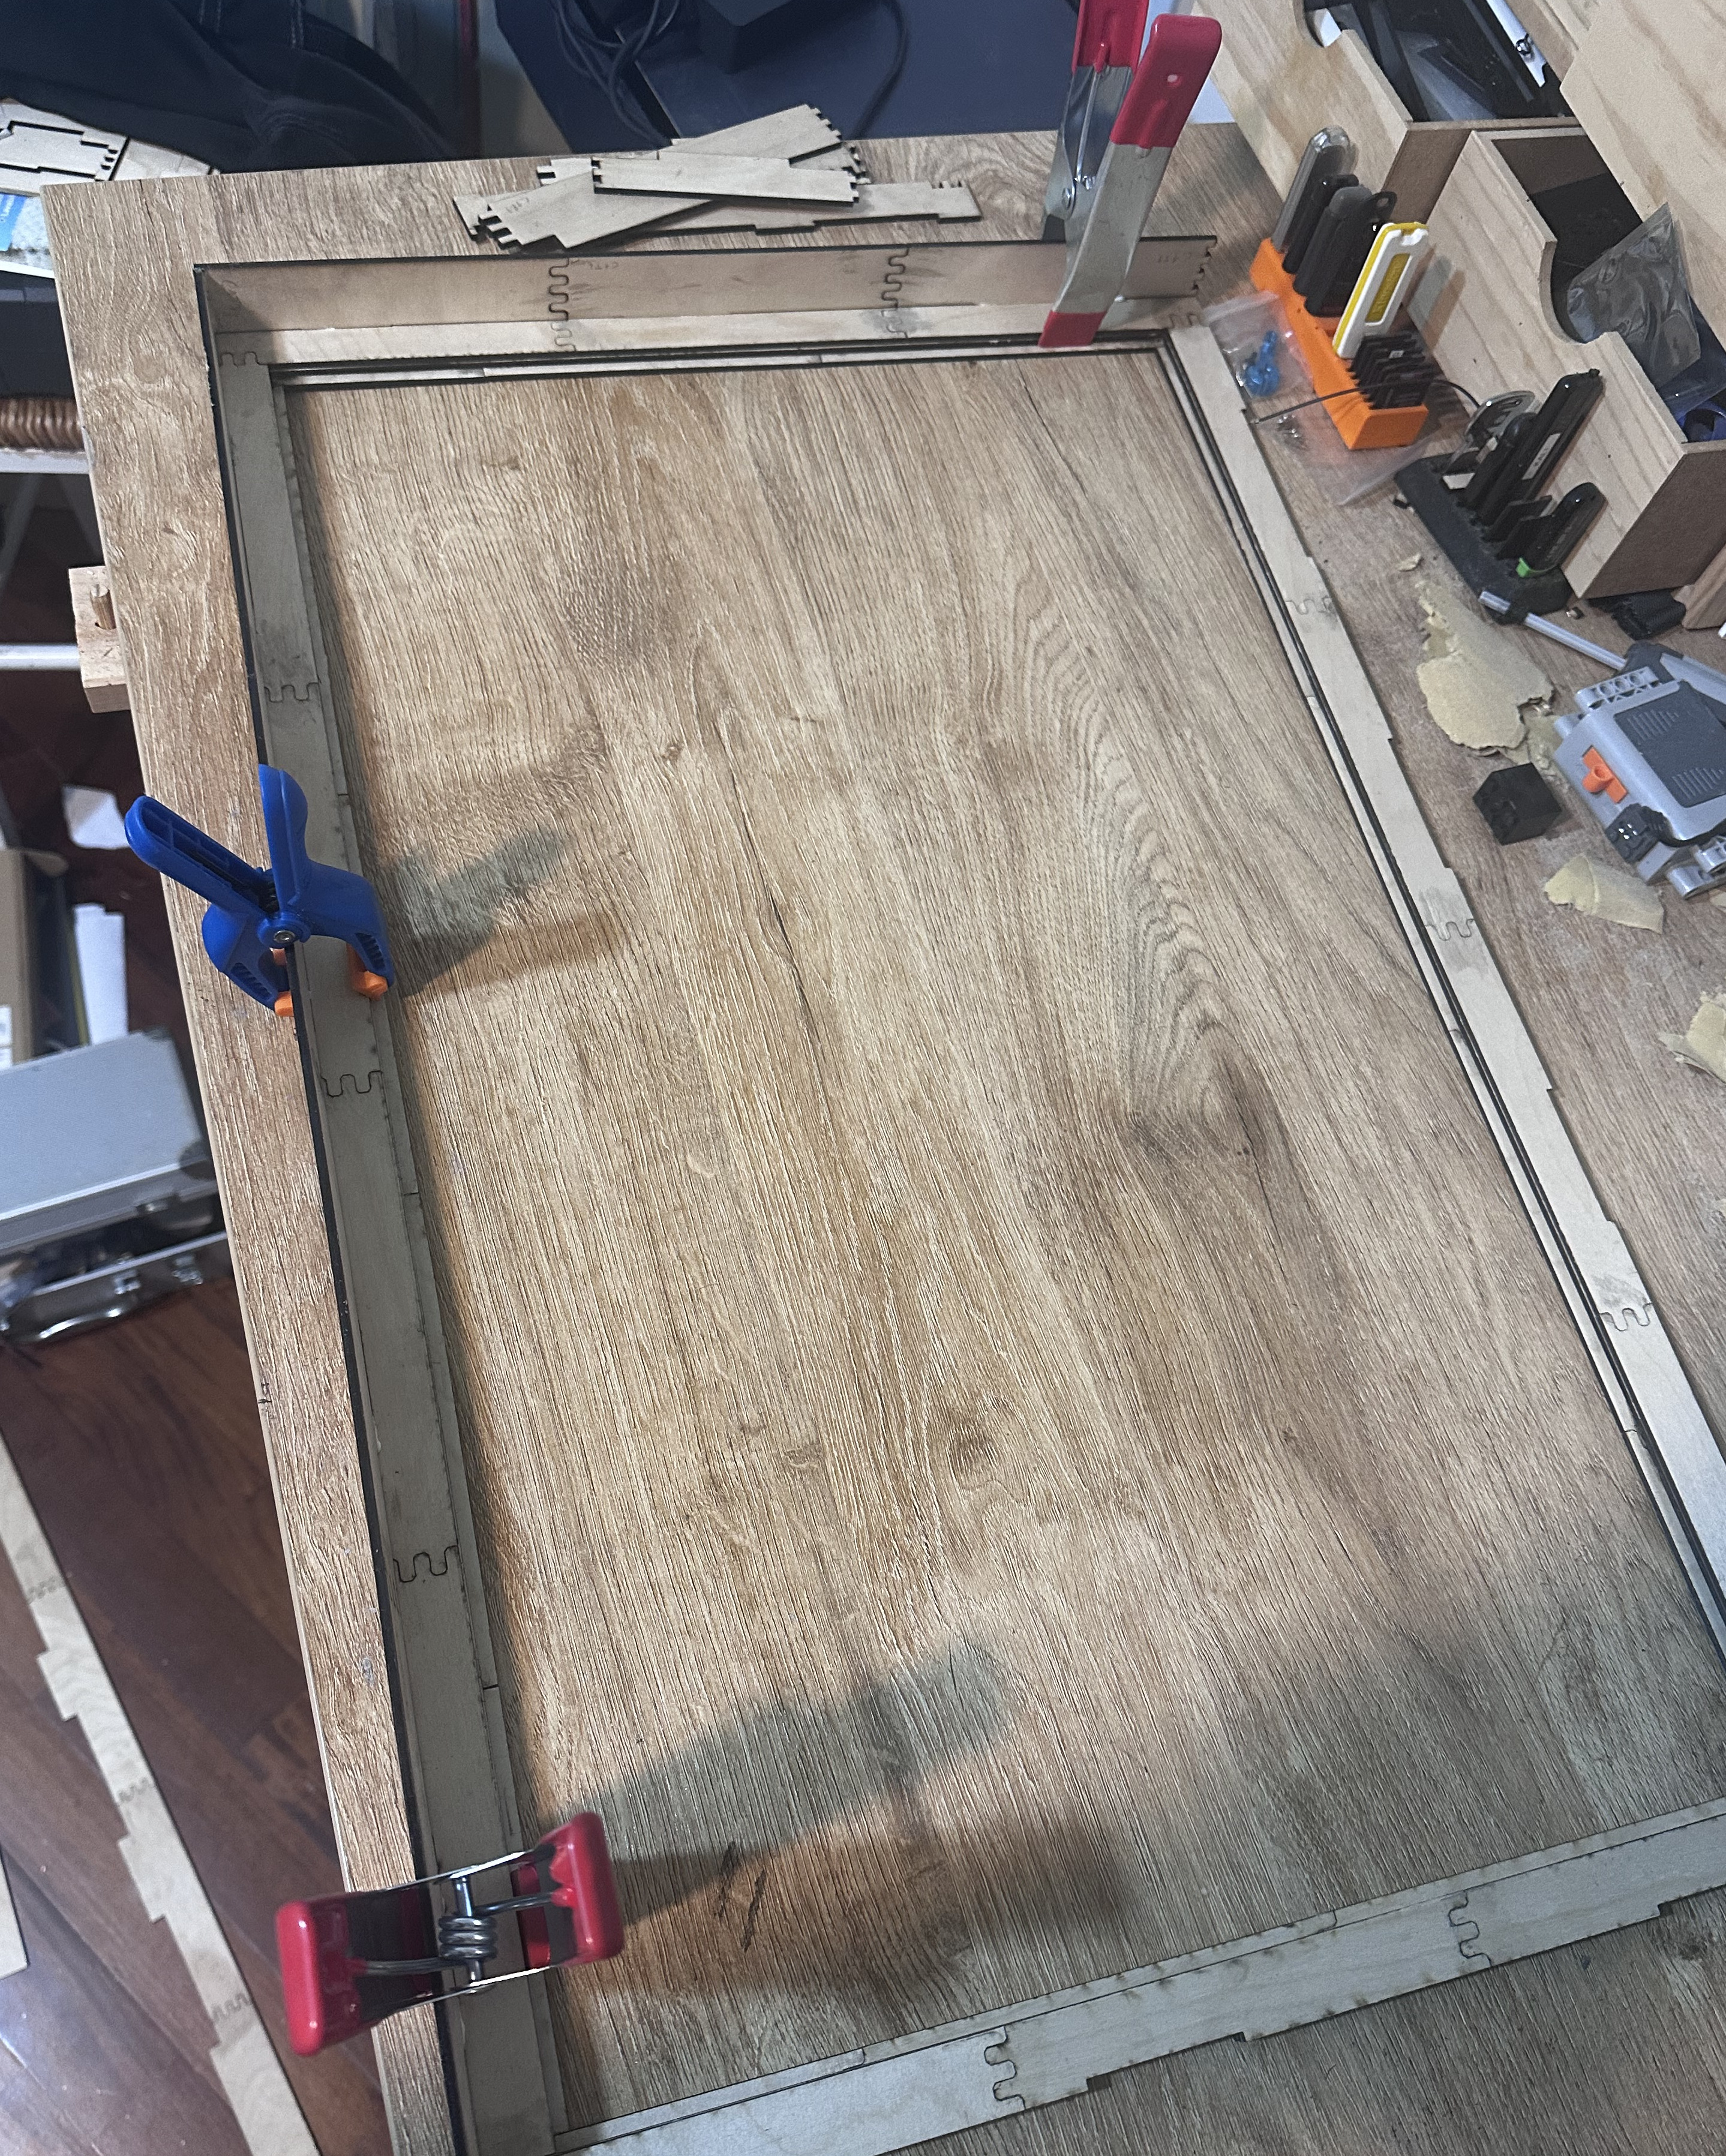
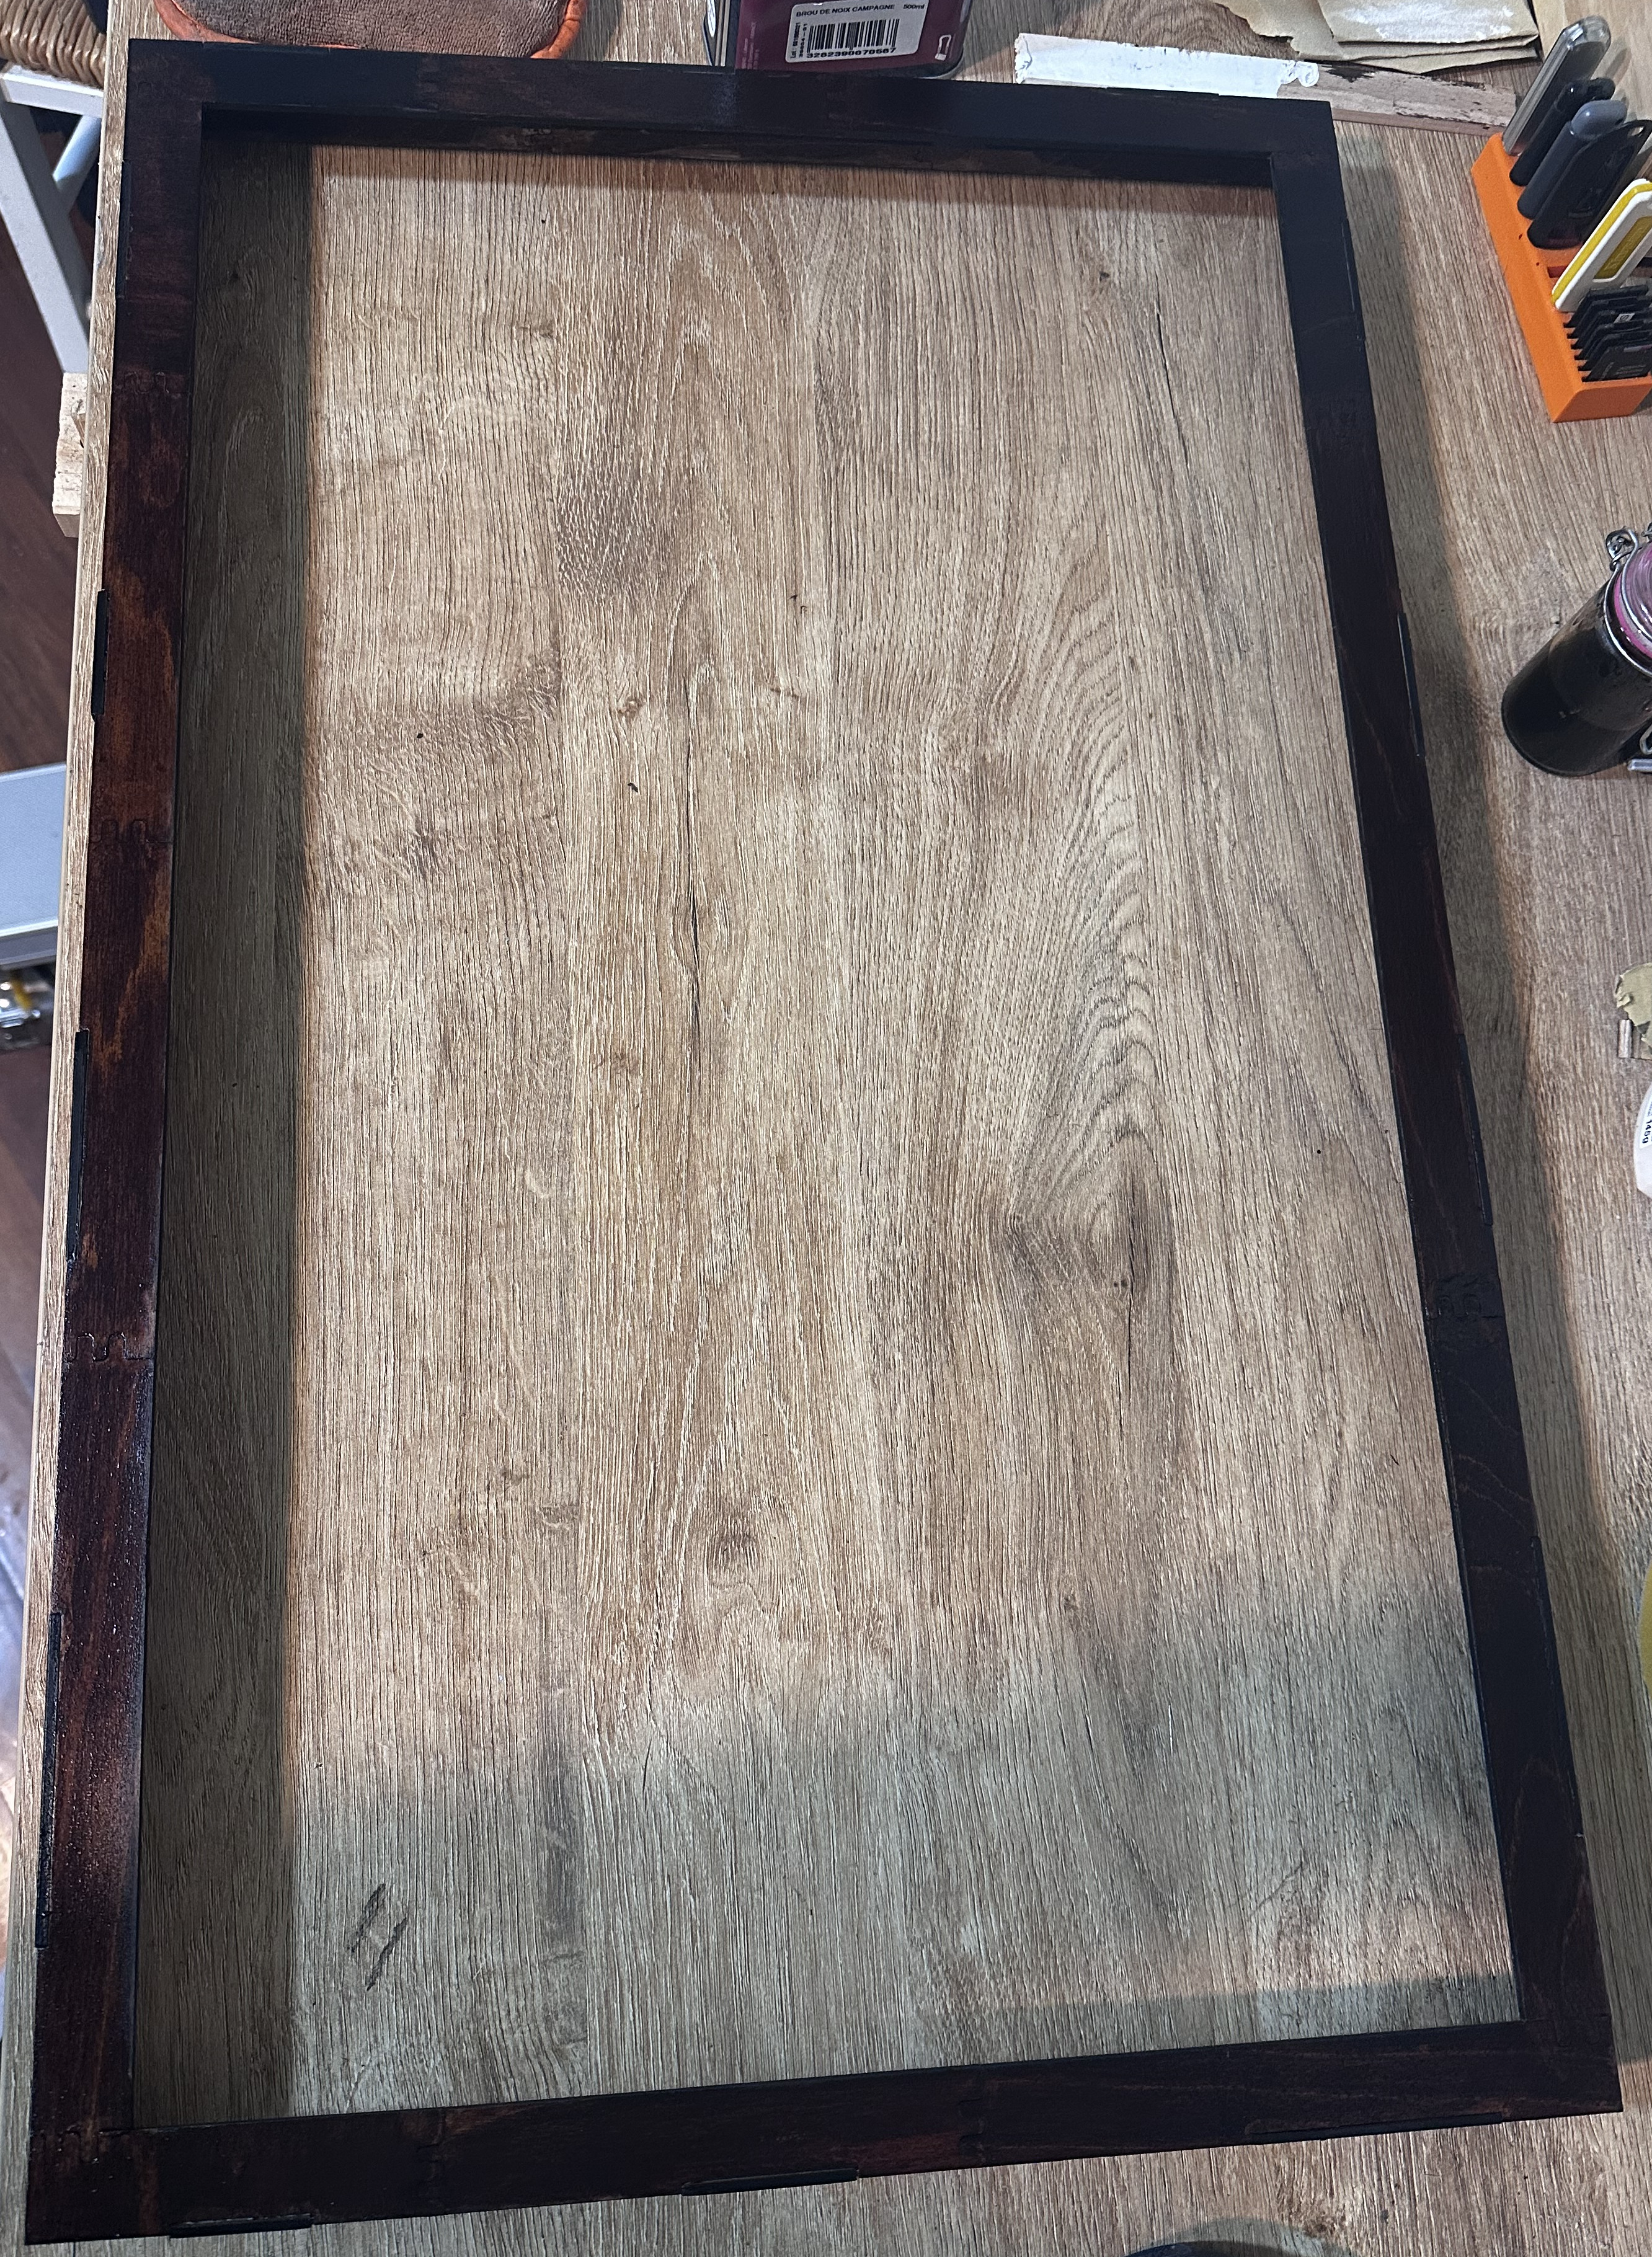
After sanding, a coat of walnut stain to reduce the visual impact of glue and joints. The result is already very clean for a first attempt. A second sanding and an extra coat are planned, possibly a wax finish.
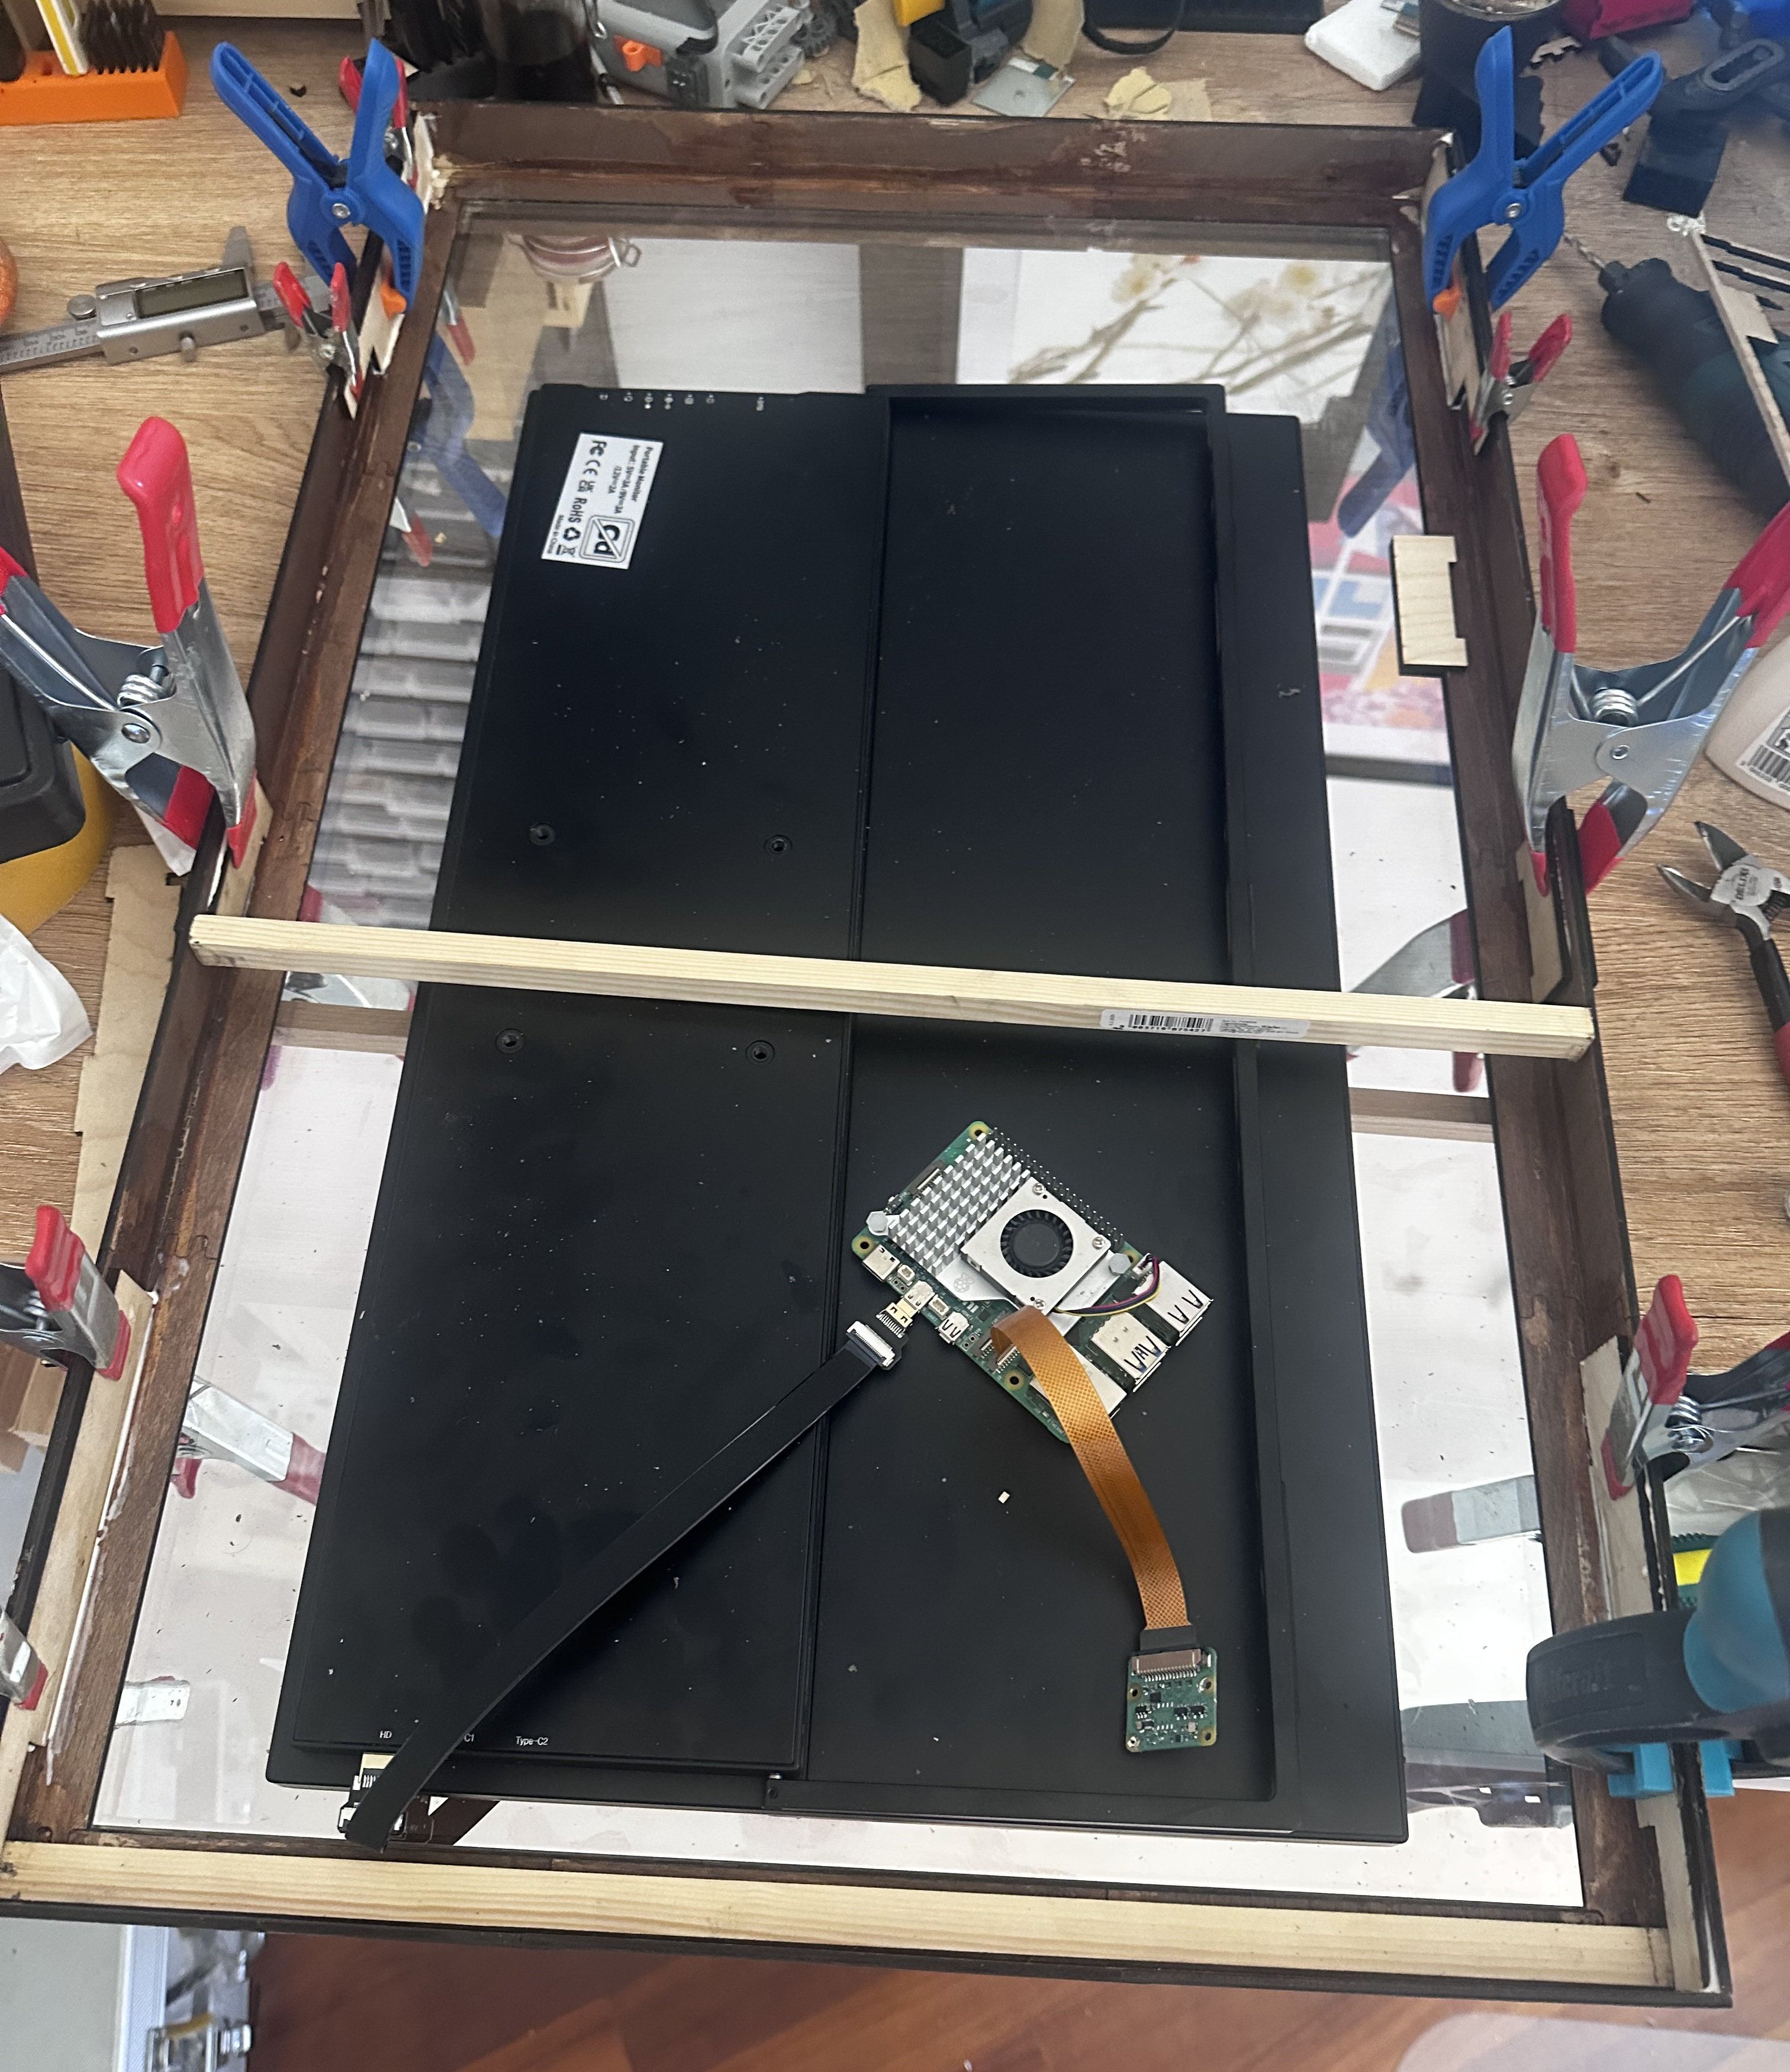
To prevent light from leaking behind the mirror (and ruining the two-way effect), black cardstock was fixed across the entire rear surface. Simple, effective.

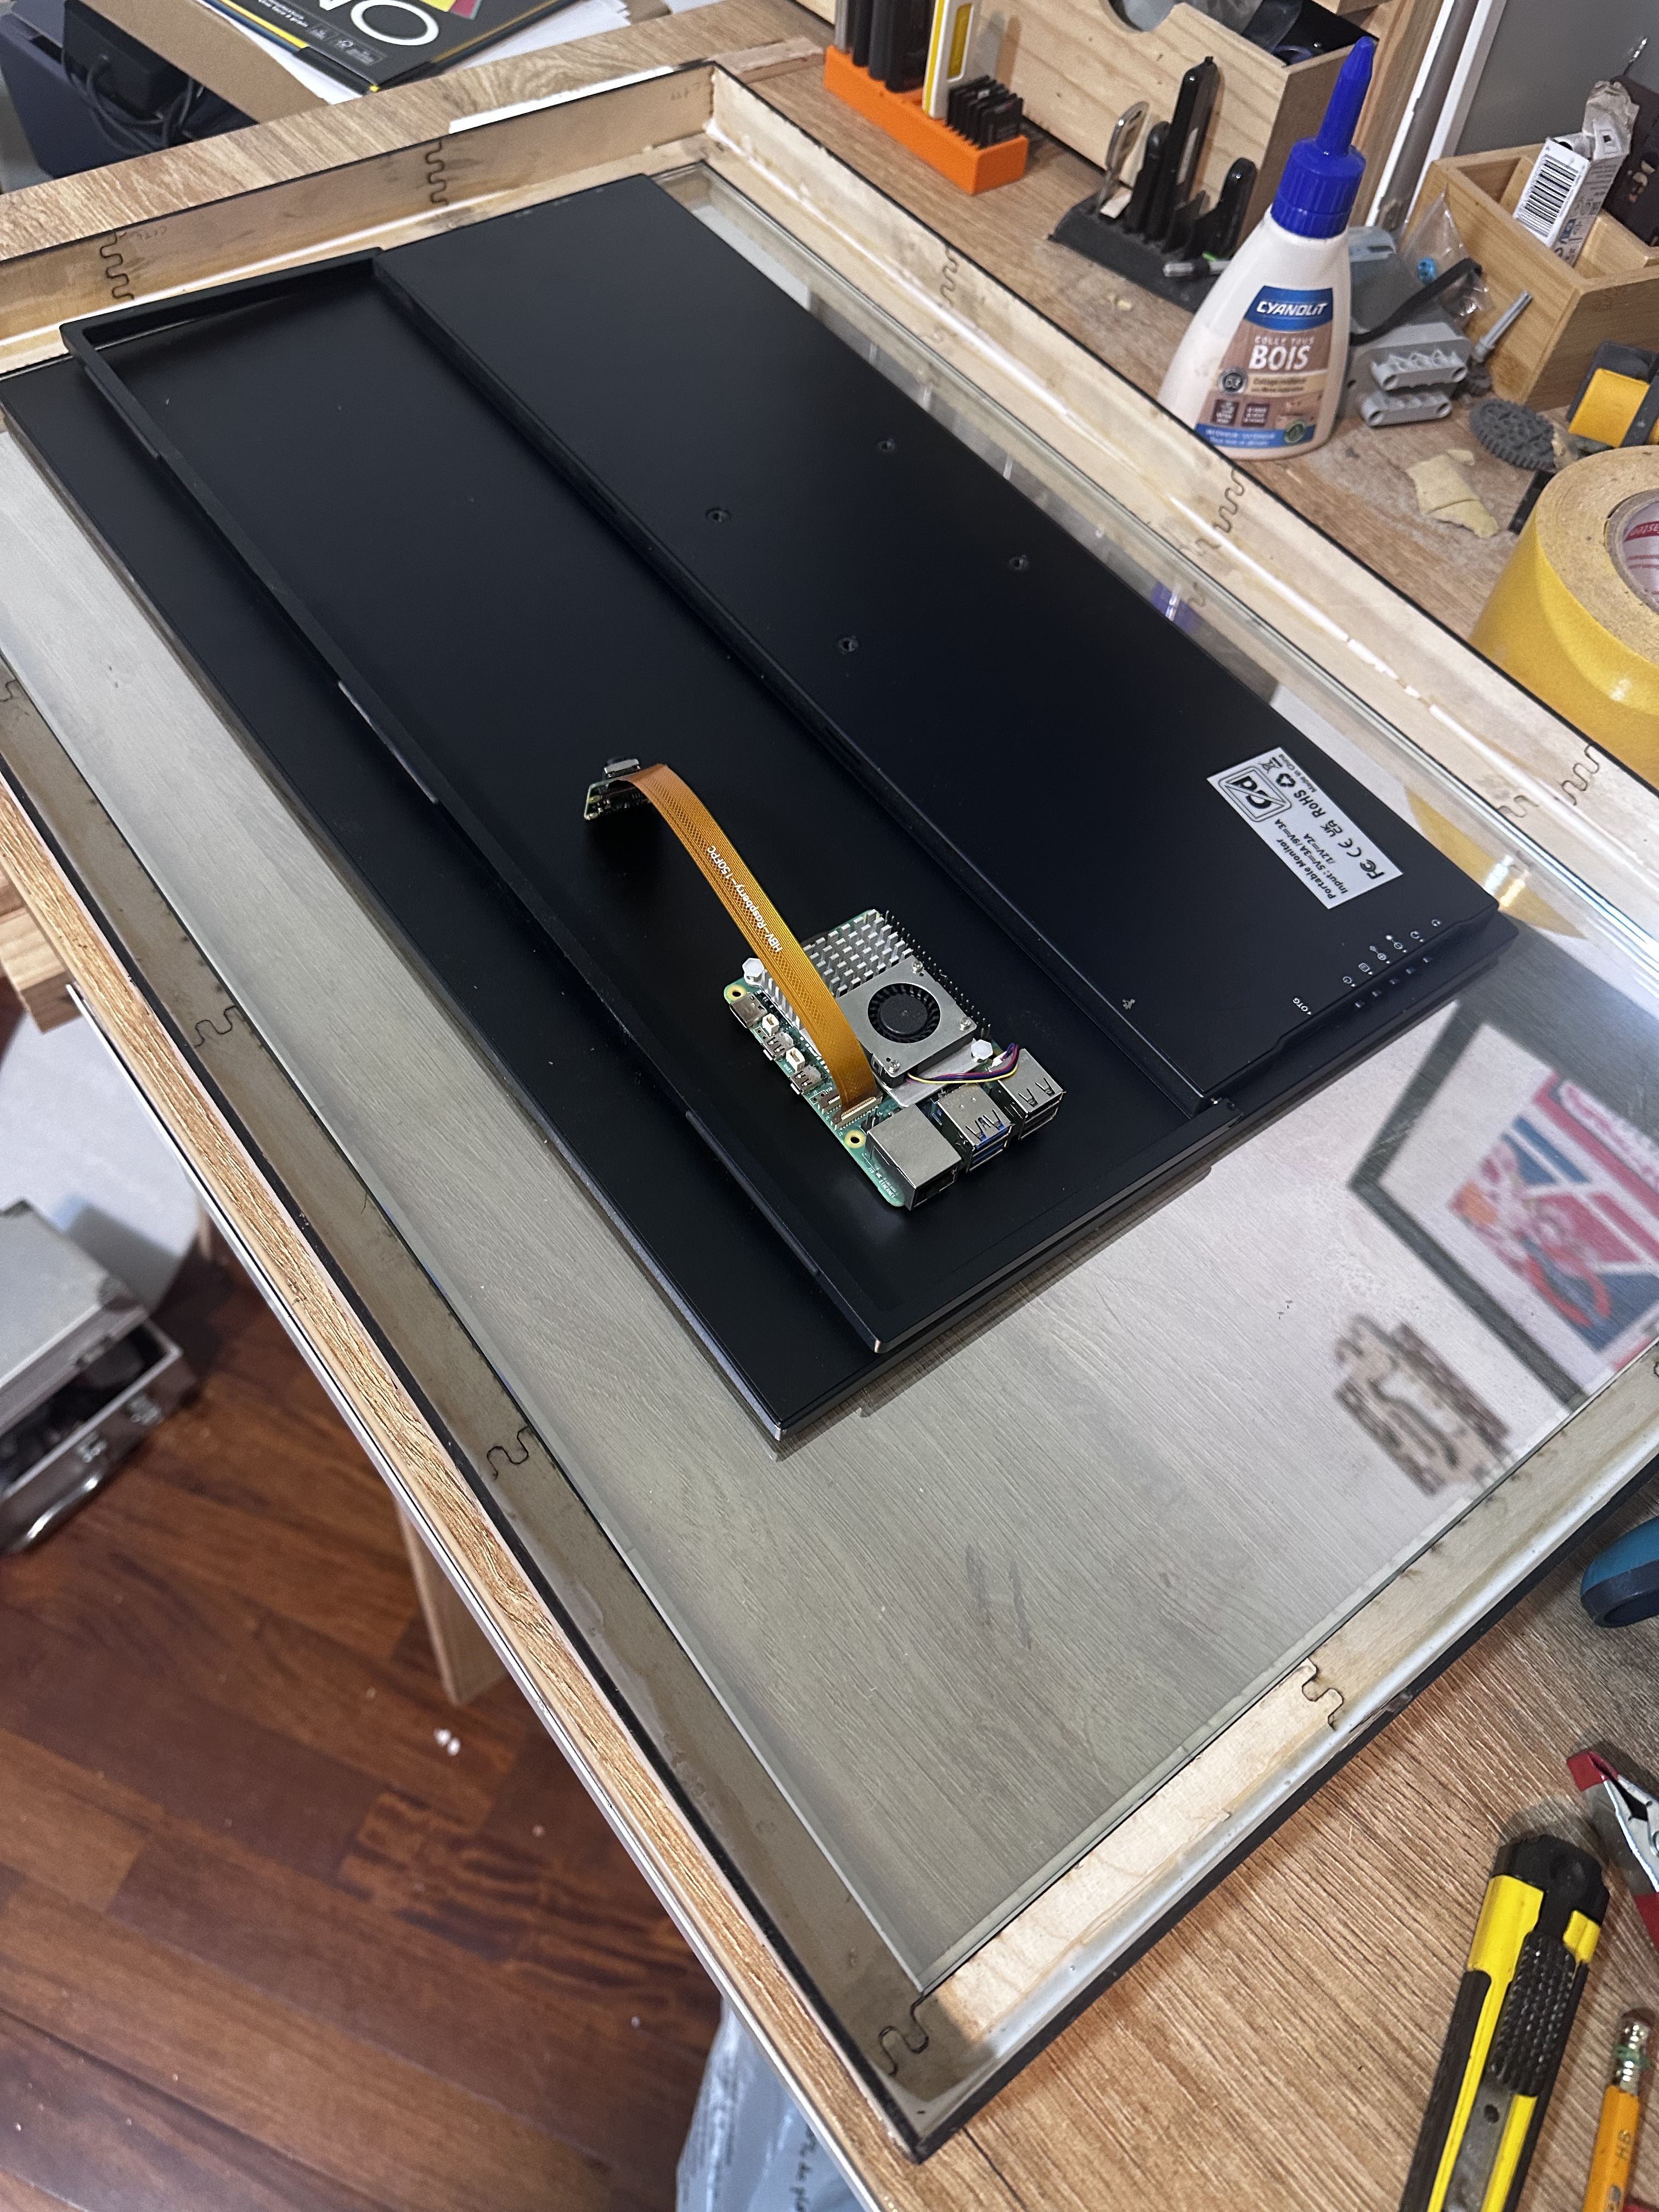
Electronics
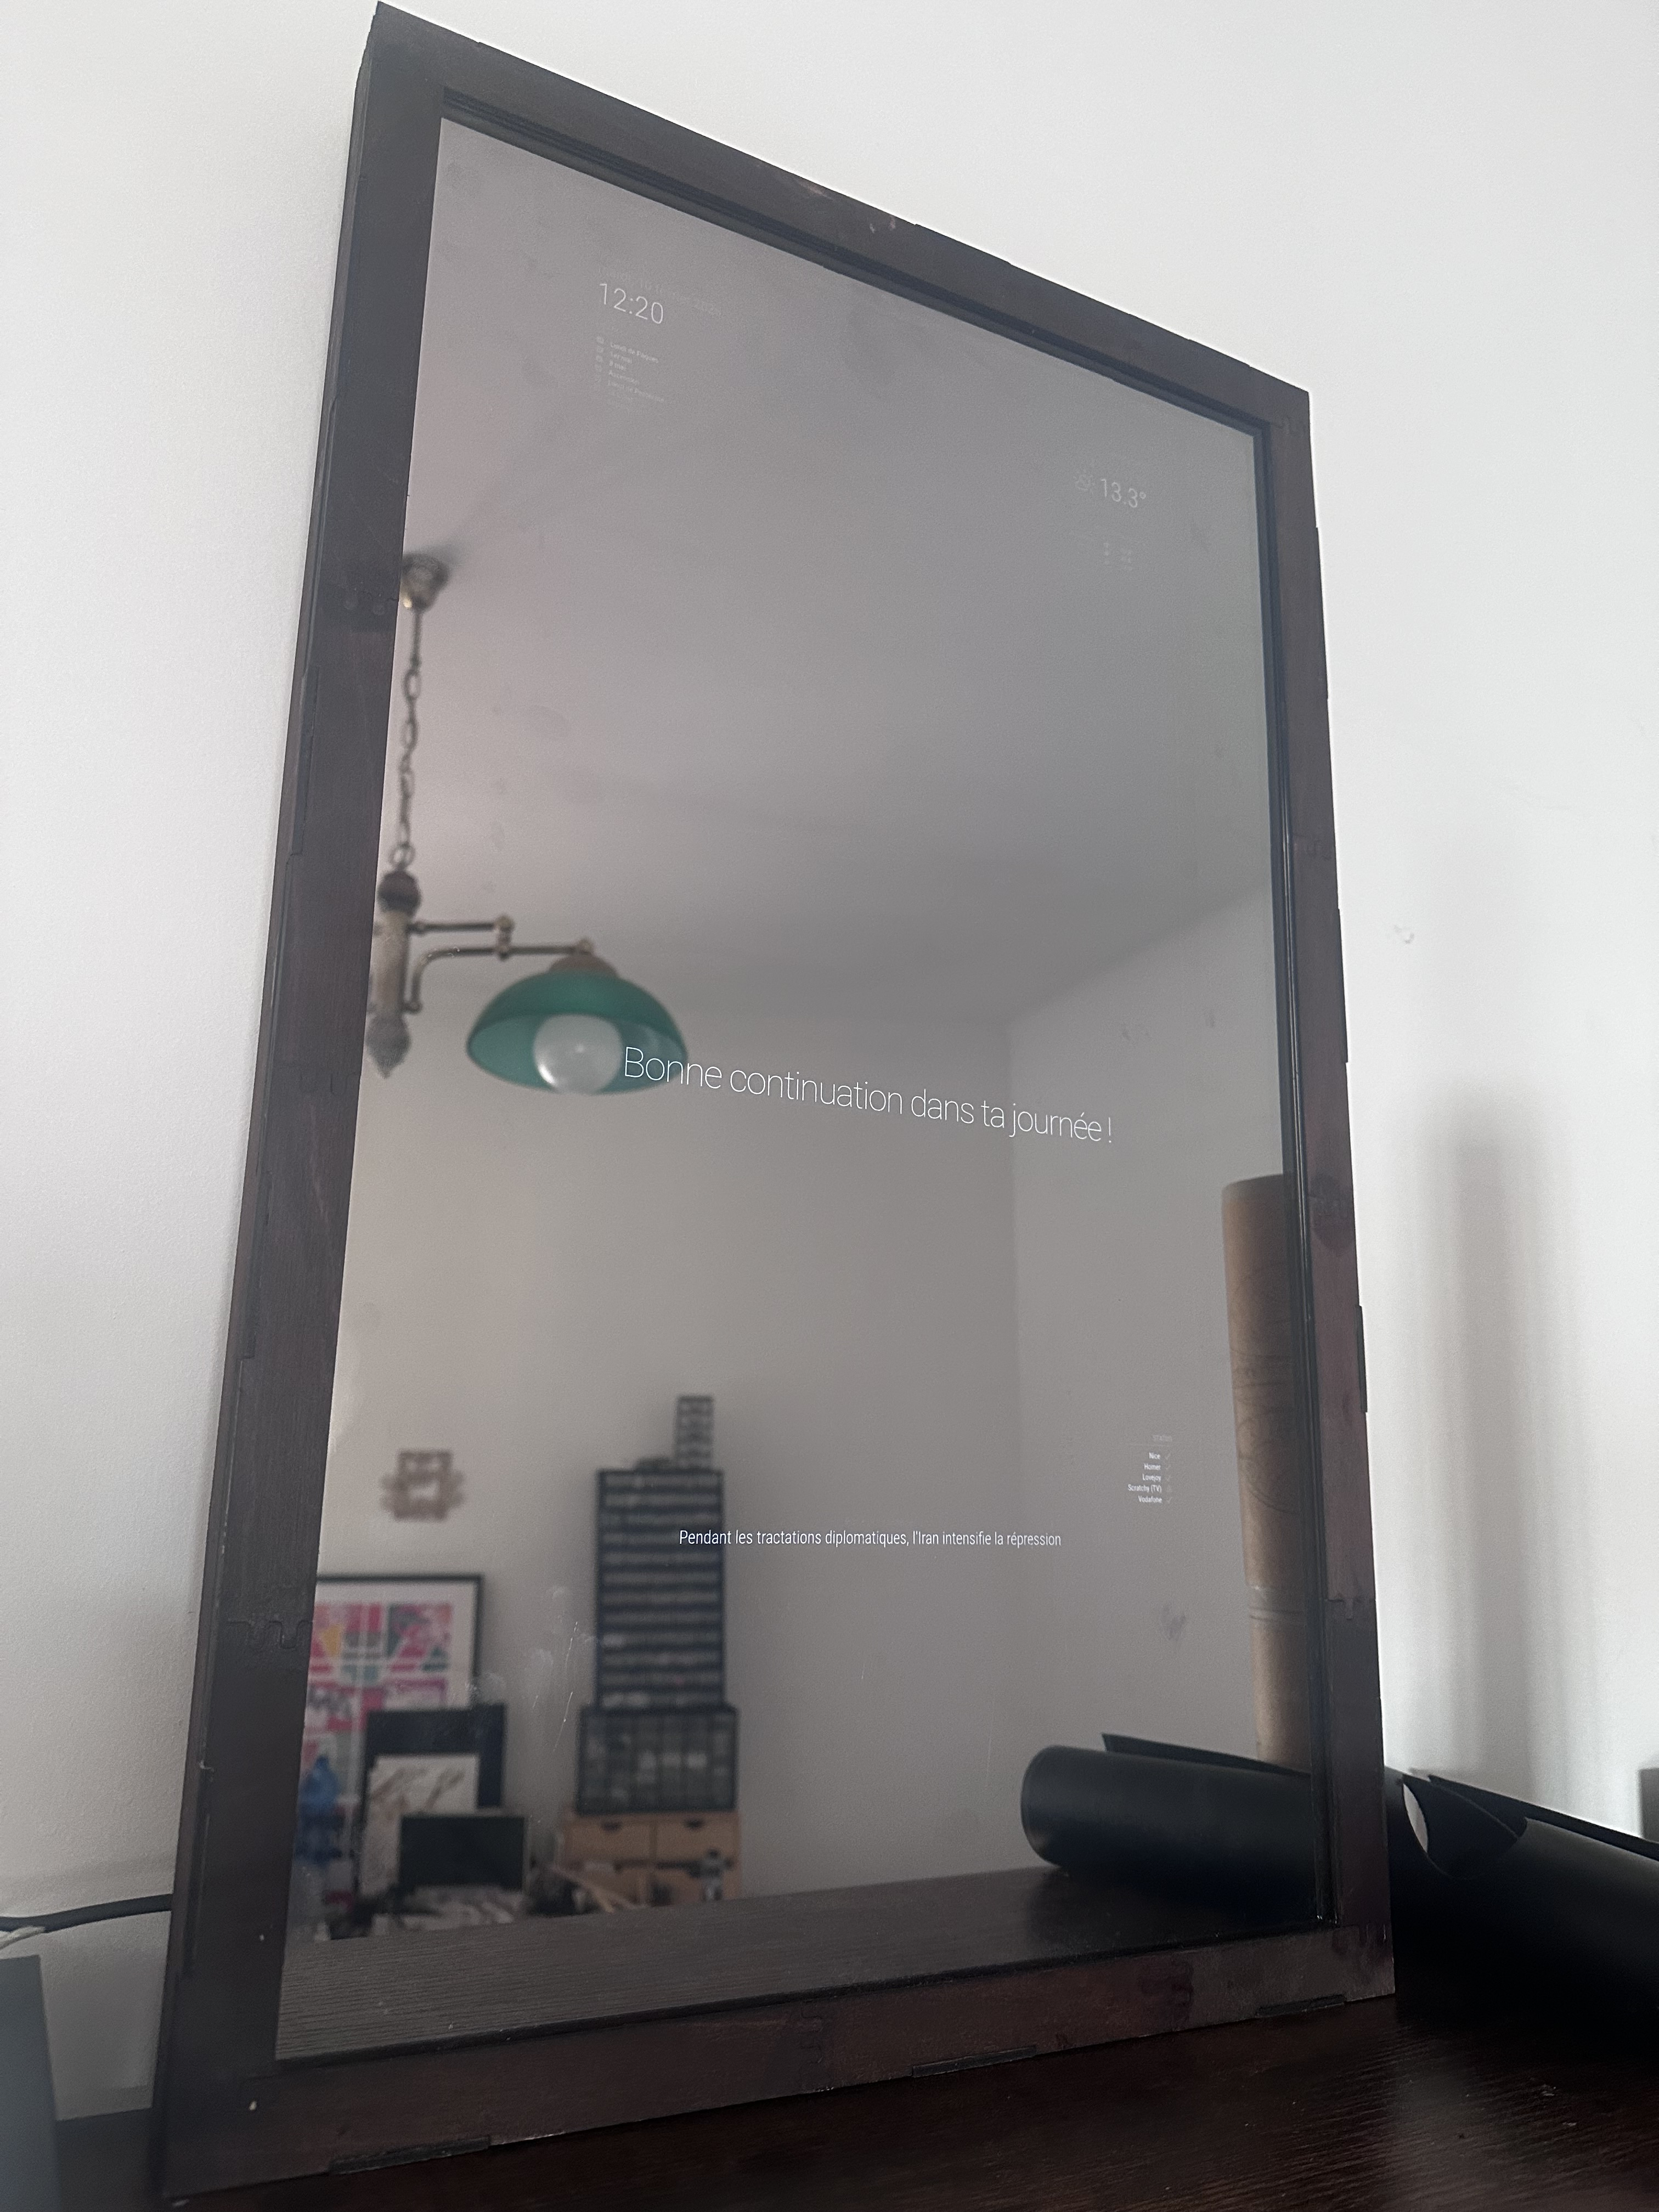
The monitor is a UPERFECT USB-powered display with HDMI input, driven by a Raspberry Pi 5 with a fan and an ultra-flat HDMI cable. Image quality is good, but a bit too bright — black levels still need adjustment.
The app didn't include positioning tabs for the screen and the Pi (too many unknowns before the first build). The solution: wooden battens + reinforcements on each side to secure the screen. A camera for facial recognition is also planned... but that's for later.
The result
The Magic Mirror is operational. Time, weather, and news are displayed through the two-way mirror. For a first build, the result is genuinely satisfying. On the tech side, Frame Generator delivered: from parametric design to SVG files ready for cutting.